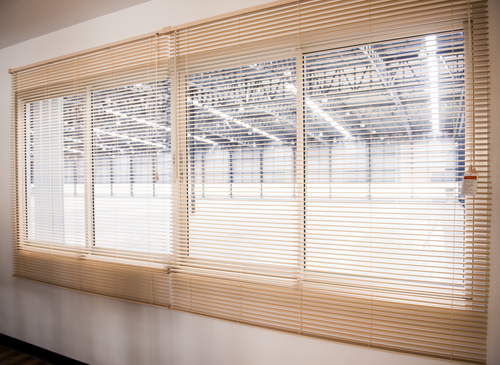
Getting roller blinds in Sydney
Roller blinds are some of the most popular type of window treatments available in the market today and for many good reasons. Modern homes prefer it for its sleek appearance enabling it to perfectly suit a wide range of interior designs. Classical homes on the other hand value the privacy that it provides without the significant weight and complexity often associated with other types of window treatments.
Indeed when it comes to elegant and highly effective window treatments, you simply can’t go wrong with roller blinds in Sydney. Unfortunately a lot of people tend to shy away from such blinds thinking that it demands much in terms of installation. While you can certainly entrust the task to professionals, you can very well install external roller blinds on your own with a few basic tools and reasonable effort.
How to install external roller blinds
You can start by gathering a few things that you’ll need to accomplish the task – a tape measure, drill, screw drivers, pencil, level, clamps, hammer and wall anchors/metal screws.
Got everything you need? The next step is to look at where you’re going to install your blinds. Most roller blinds will come with metal screws meant for installing the blind unto a wooden surface. If you’re looking at a metal or concrete surface then you’d have to use sheet metal screws or wall anchors to do the job.
Spread the blind fully and press it directly against the window. Check to see if there are parts of the blind reaching the window frame or anything that might interfere with the blind’s proper operation. Mark one side of the window where you’ll be installing the brackets of your blinds and do the same with the other side. Make sure that the markings you’ve made are equal; you can use a levelling tool for that.
Once the proper location is determined, draw a line on one side under where the bracket will be placed; then measure and mark the other side. Use a carpenter’s level to make sure that both pencil marks are level. Install the curved brackets facing the front of the frame making sure that it is completely level with the markings that you’ve made. Carefully slide it into place approximately half an inch away from the front of the frame. Mark the entry points of your screws with a pencil. Repeat the process until you’ve covered every side of the window frame.
Begin drilling the necessary holes in the areas marked. Size of the holes that you’ll have to drill will vary depending on the kind of screws that you’ll be using so make sure that you take this into account. Secure the bracket of your window blinds unto its frame by driving and tightening all the necessary screws into place. You can then attach the plastic inserts unto the bracket and slide everything into place. At this point, all that’s left is to inspect the operation of your blinds by extending and closing it completely!
So there you have it – basic instructions on how to put up your roller blinds on your own. Some of these blinds may differ slightly in terms of installation so make sure that you check the instructions handed out by the manufacturer.
Need professional help installing your blinds? Perhaps you’re looking for some of the best deals for roller blinds online? We at Shutters Australia would certainly love to help! Call us today on 1300 853 206 and check out some really great deals for roller blinds available in the market.

